HOW-TO: Remove Solder Bridging from J-Leads & Gull Wing Leads
Note: This guide is based on the IPC 7711 6.1.2.1 and 6.1.4.1 standards. Purchase the full standard from the IPC organization. The graphics and text have been created to provide easy-to-use instructions. Any content that diverges or supplements the IPC standard with be noted on the graphics, and text will be blue.
This process is used to remove solder bridging between leads on surface mount components. The process is the same for j-leads and gull wings. Solder bridges can sometimes be fluxed and reflowed to spread solder among the other leads or draw solder away from the leads. Desoldering braid, also called wick, can be used when excess solder makes those methods impossible.
|
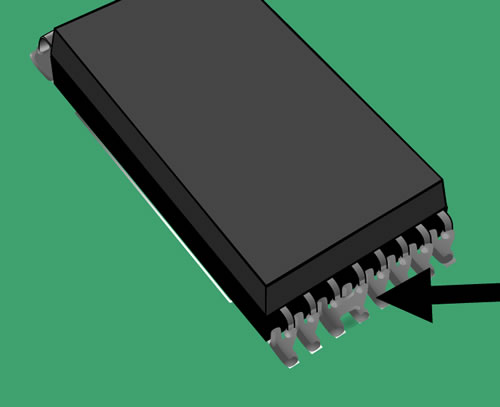
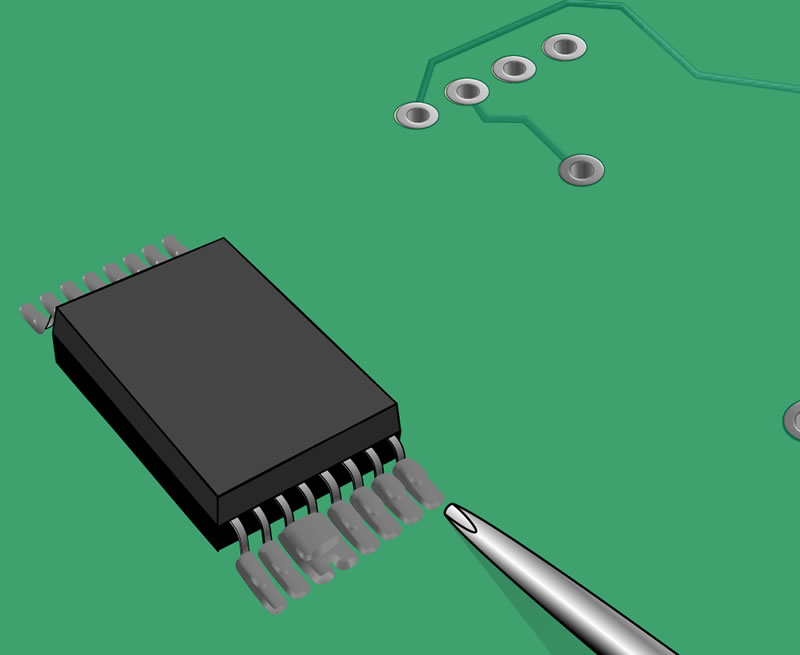
J-lead component with bridging
|
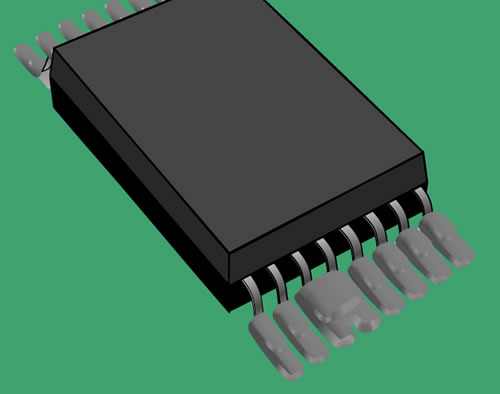
Gull wing component with bridging
|
Step 1: Choose braid width and solder tip
|
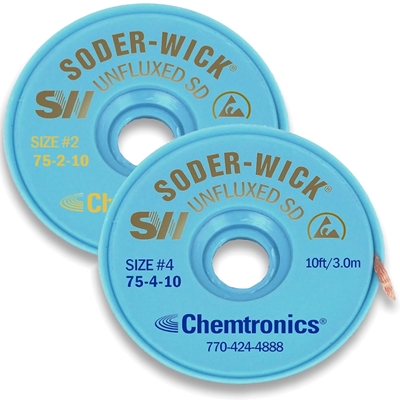
Select solder wick width.
Select solder tip size. |
Choose a width of braid that is approximately the width of the solder to be removed. Choose a solder tip with approximately the same width as the wick. |
STEP 2: Prepare iron
|
Clean solder tip. |
Select a temperature of approximately 315°C (599°F), and adjust as needed. Clean the solder tip. |
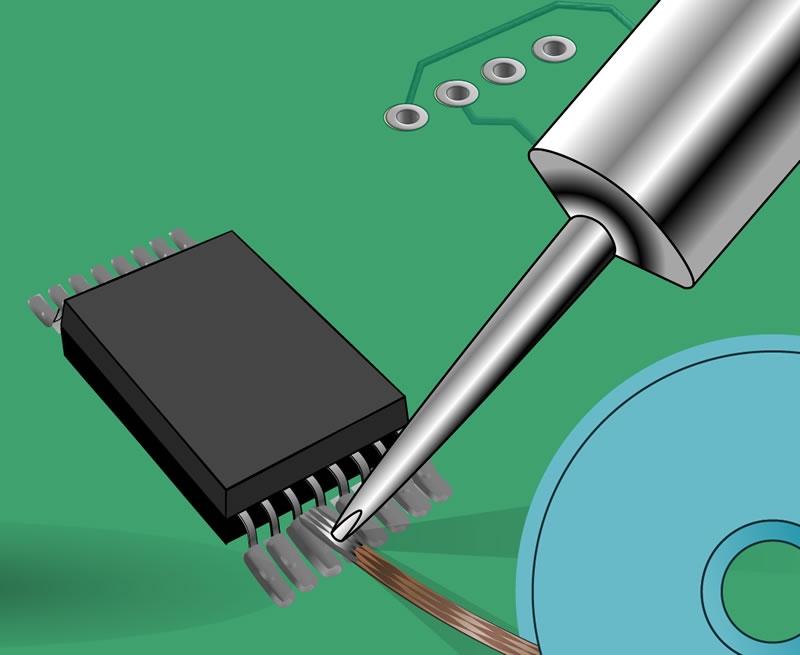
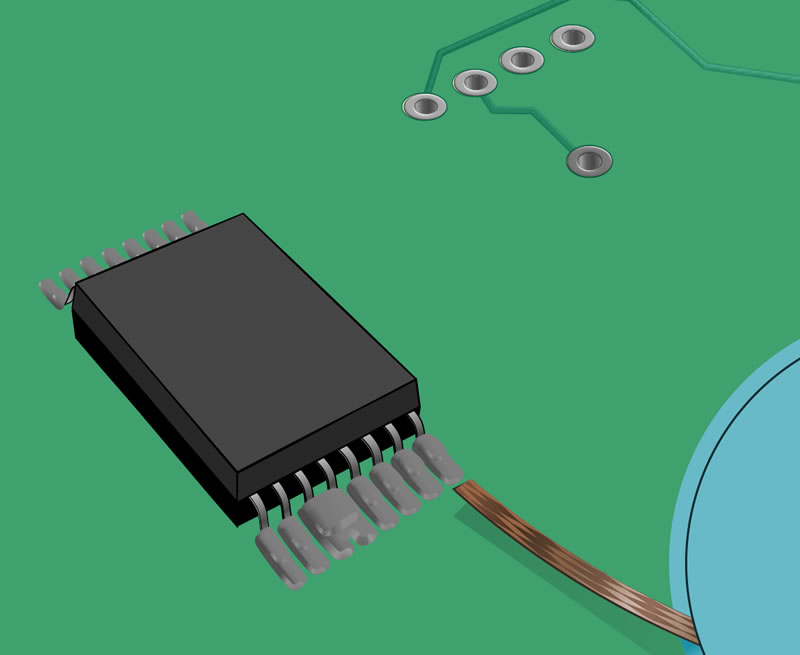
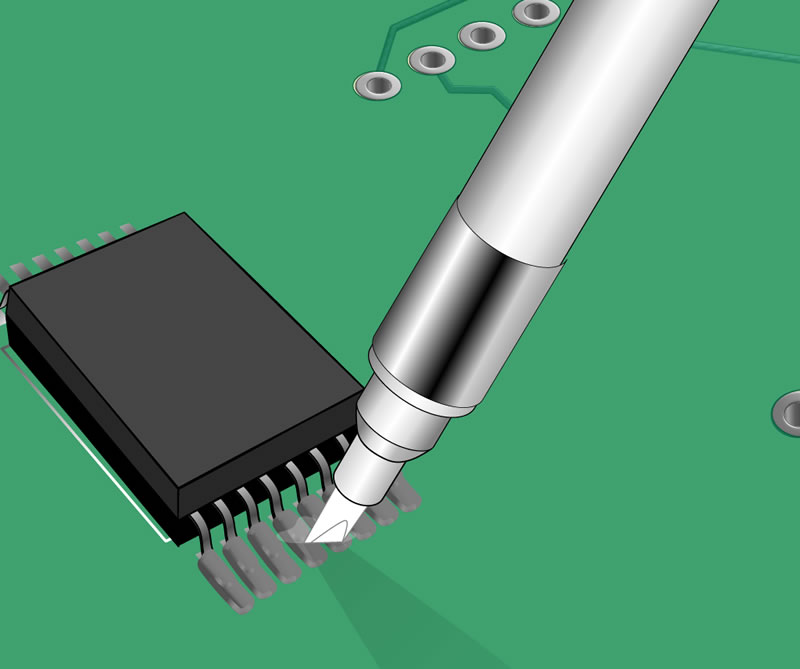
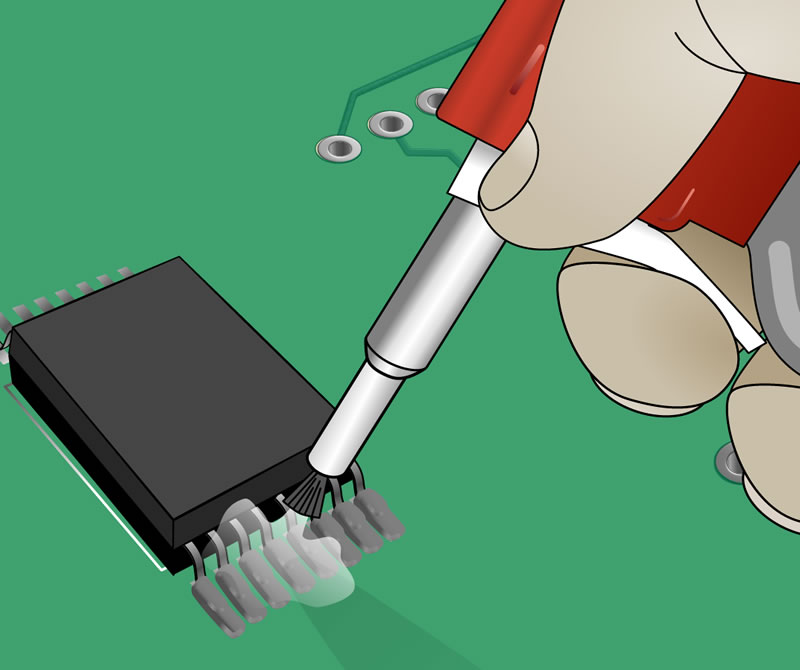
Step 3: Melt and Remove the solder
|
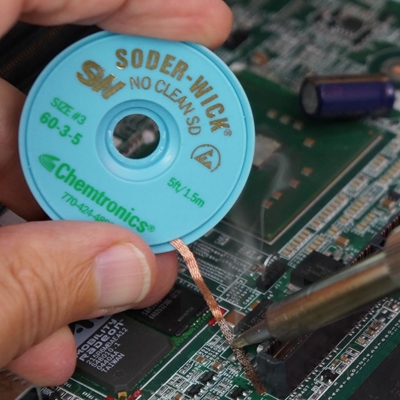
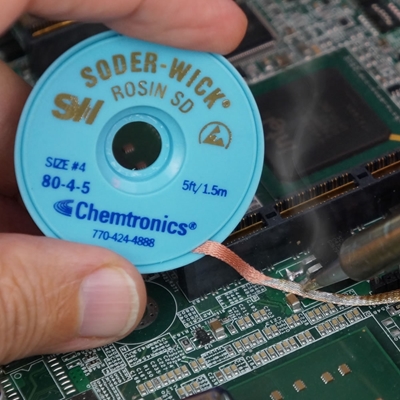
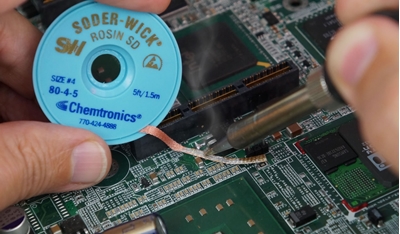
Remove excess solder. |
Place braid over the solder to be removed. Place the iron tip on the braid. Allow heat to conduct through the braid to melt the solder. The braid will absorb solder using a wicking action. Use caution holding the braid, as heat will also travel through the braid. Additional flux may be added to the solder area or to the braid if wicking action is inadequate. |

Step 4: Remove the Braid
|
Lift solder wick and tip. |
Remove soldering iron and the braid at the same time when wicking action has ceased. Trim away used areas of the braid and repeat the process to remove solder from additional lands. |
Step 5: Clean
|
Remove flux residue.
|
Clean and inspect area. Add solder back to adjacent solder joints as needed. |
Tools & Materials
-
Cleaner like flux remover pen or aerosol flux remover
-
Soldering iron with tips
-
Solder sponge or brass tip cleaner
Ask A Technical Question
Stay up-to-date on Chemtronics news, products, videos & more.
Related Products