Conductive Pen Tips and Tricks for Best Performance
CircuitWorks Conductive Pens have a wide range of uses, from drawing traces between components on prototype circuit boards, coating components and assemblies to shield them from electrical and radio frequency interference, to repairing broken solder traces on PCBs and broken grid lines on automobile rear-windshield defoggers.
The silver- or nickel-filled acrylic polymer provides a quick, easy alternative to building solder traces between components, and can effect repairs where conventional soldering techniques are not practical or possible. However, the nature of the conductive ink can lead to issues with regard to trace width, clogging, conductivity, curing and thinning which I would like to address in this article.
Tip Assembly and Trace Dimensions
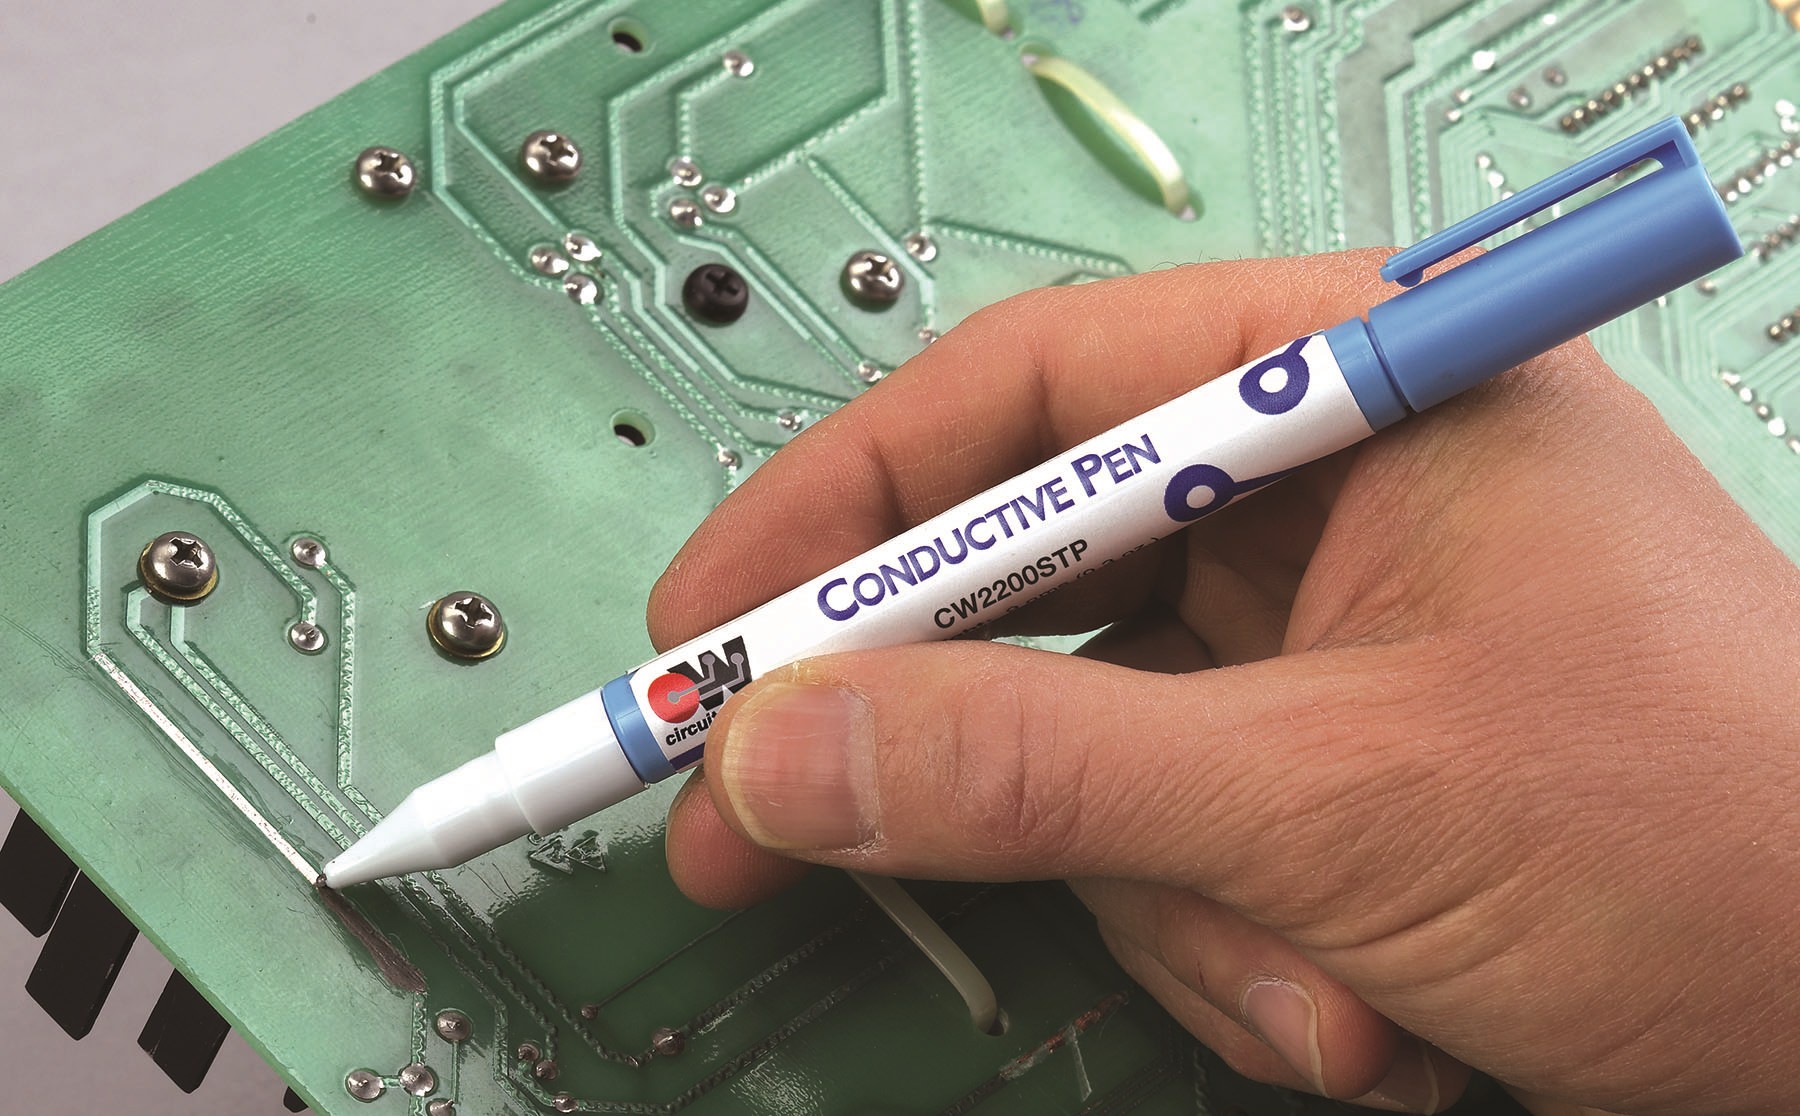
The tip of CircuitWorks Conductive Pens contains a spring-loaded retractable stopper. As you press the tip of the pen against a hard surface, the tip retracts into the tip assembly, opening a channel through which the conductive ink flows out of the pen. This can be aided by gently squeezing the flexible pen barrel.
The standard tip used in the Silver Conductive Pen (part #CW2200STP), Flex Conductive Pen (#CW2900), and Nickel Conductive Pen (#CW2000) have an orifice size of 1 mm and will draw traces that will average 2.0 mm in width. The microtip Silver Conductive Pen (#CW2200MTP) has an orifice size of 0.7 mm and will draw traces that average 1.5 mm in width.
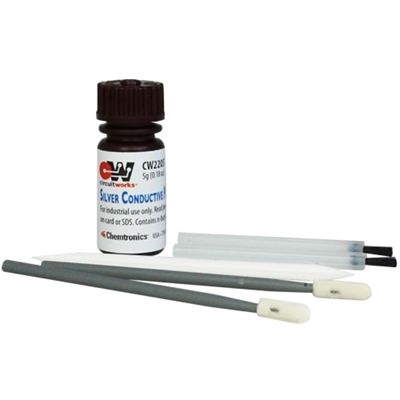
A skilled technician, with experience in using these applicators, should be able to produce consistent traces narrower than the dimensions cited. If even narrower trace widths are required, CircuitWorks Conductive Paint (#CW2205) has a 5 gram container of the conductive material, and includes a more exacting pick applicator.
Thinning
If a thinner coating is required, conductive ink can be thinned using butyl acetate solvent. Using other solvents to thin the conductive ink is not recommended, as they may change the properties of the acrylic polymer or force the polymer out of solution.
To add solvent, remove the cap and with the pen tip pointing up, grip the white base of the tip assembly gently but firmly and turn it to the right (clockwise; the tip assembly is “reverse-threaded”).
Curing
The one-component conductive ink will dry tack-free within 5 minutes, and will dry completely within 30 minutes, but maximum conductivity will not be achieved until the trace has fully cured for 24 hours at room temperature.
For increased conductivity, durability and chemical resistance, the trace can be heat-cured by heating at 250° to 300°F (120° to 150°C) but for no more than five minutes.
Application Tip Clogging
If you experience difficulty in producing a smooth flow of conductive ink, this could indicate clogging of the product outflow channel within the tip assembly. As the pen sits in storage, especially if stored tip-down, the suspended silver particles will slowly settle and can clog the channel through which the product flows.
To restore the pen to proper operation, it must be shaken vigorously, usually for two to three minutes. Shake the pen until you can hear the internal mixing bearing “clicking” or moving within the pen barrel. Once you have established movement of the mixing bearing, continue to shake the pen for another minute or so to completely re-suspend the silver particles within the polymer matrix, which will produce a smooth, homogenous product.
If shaking the pen does not free the mixing bearing (you cannot hear it moving within the pen barrel) or the ink still refuses to flow when the pen tip is retracted, then the clogging within the tip assembly is more serious and will require a more rigorous cleaning to re-establish proper operation. Remove the cap and with the pen tip pointing up, grip the white base of the tip assembly gently but firmly and turn it to the right (clockwise; the tip assembly is “reverse-threaded”). Remove the tip assembly and drop in into a small container of Flux-Off® Heavy Duty or another suitable solvent.
Let the tip soak for 30 minutes to one hour, with occasional shaking or swirling, to clear the internal spaces within the tip assembly. As the dried polymer dissolves, you may see a fine dust of silver collect on the bottom of the soaking container. While the tip is soaking you may want to cover the pen barrel opening with a piece of tape to minimize exposure of the conductive ink to air and moisture and further clogging.
Once the tip has been cleared of ink, remove it from the solvent and let it drain on a paper towel and stand it in the air for 10 minutes to allow the cleaning solvent to evaporate. Check that the tip stopper moves freely and retracts into the assembly easily, then screw the tip assembly back onto the pen barrel.
The pen should now perform properly. If not, repeat the soaking procedure until the tip has been cleared. If that doesn’t work, the pen is probably past its usable shelf-life and should be replaced.
Flexibility
The conductive ink used in CircuitWorks Conductive Pens and Nickel Conductive Pen has a limited degree of flexibility. If a conductive trace is bent beyond an angle of fifteen degrees, the trace will lose adhesion to the flexible surface. Further bending can produce fine cracks within the trace and eventually result in breaking of the trace and loss of electrical continuity. CircuitWorks Flex Conductive Pen is recommended for flexible PCB repair.
Adhesion and Surface Preparation
For optimal adhesion to most surfaces, clean the repair area prior to ink application. That ensures the surface is free of oil, grease and handling soils.
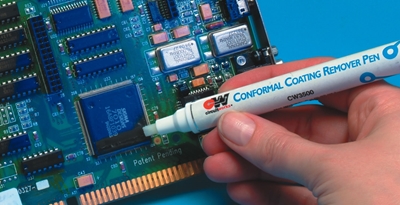
For precise cleaning just around the rework area, Chemtronics offers CircuitWorks Flux Remover Pens, which contain fast evaporating cleaning solvents. Chempad (#CP400) isopropyl alcohol (IPA) presaturated wipes and Chemswab (#CP25) IPA presaturated swabs are also well suited for surface prep.
Soldering to the Repaired Track
A trace drawn with the conductive ink will combine with solder, provided the soldering temperature does not exceed 350°F (177°C) and the solder joint is formed within 5 seconds. If the drawn trace must be soldered to, we recommend tin/lead solder containing 2% silver and that the trace is heat-cured at 150°F (66°C) for five minutes to produce the most durable trace possible.
If you have any questions, contact a Chemtronics technical specialist at [email protected] or 770-424-4888.
Ask A Technical Question
Stay up-to-date on Chemtronics news, products, videos & more.
Related Products