Soder-Wick User's Guide
Wick, Solder Wick, Desoldering Wick, Solder Braid, Desoldering Braid. All of these names refer to the same thing. It is a method of removing unwanted solder using flux and braided copper wire.
It is commonly used to aid in removing faulty components, to correct solder bridging, or for any other reason that solder needs to be removed.
Wick is used by everyone from massive printed circuit board factories all the way to beginning hobbyists.
It takes a little practice at first to get used to, but without much training anyone can start removing unwanted solder quickly and easily. Wick is relatively inexpensive and simple to use compared to other methods of solder removal. It is also safer on components than vacuum desoldering devices, as less heat is applied to the component and the heat is applied for a shorter period of time.
The commercial manufacturing desoldering braid was originally invented and manufactured by Soder-Wick brand in the late 1960’s. We have been perfecting this process and supplying customers with excellent product for over five decades now.
Getting Started
Steps to using sodering wick:
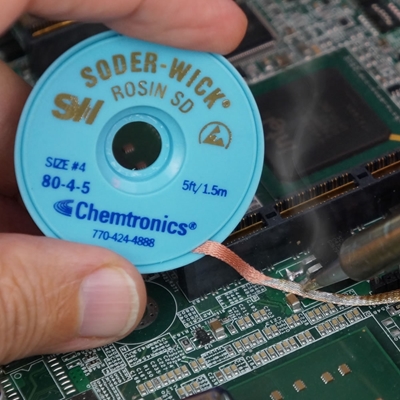
Step one: Choose the appropriate size of wick and soldering tip for the solder to be removed.
Choose a width of wick that is similar in size to the glob of solder to be removed. Using wick with a significantly different width will make the solder removal more difficult. It is usually beneficial to keep several different widths at your work station in order to be ready to desolder anything that you may encounter.
Additionally, choose a tip for your soldering iron that is reasonably close in size to the wick that you are using.
Next: You will need to choose a wick with the appropriate flux type.
- For the fastest desoldering choose a rosin based flux. This is wick has a part number starting with “80-“ or “50-“ in the Solder-Wick line.
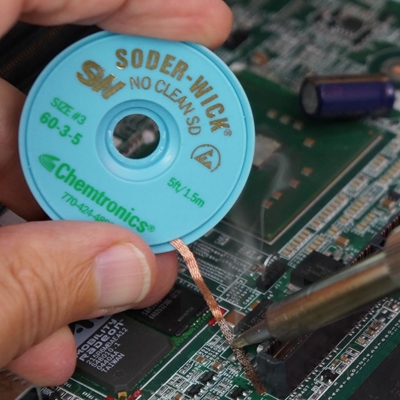
- For desoldering that does not require cleaning afterwards, choose a braid with No-clean flux. This is wick with a part number starting with “60-“ in the Solder Wick line.
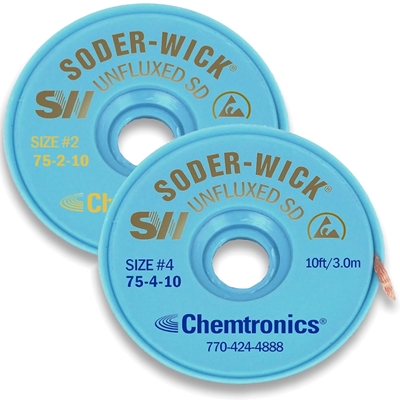
- If you have a requirement that you use a particular flux, or that you use an organic flux…choose unfluxed wick. You will need to add your own flux as you desolder in order. Unfluxed wick has a part number that starts with 75- in the Soder-Wick line.
- All of the Soder-Wick 5 and 10 foot lengths are wound onto static dissipative bobbins to eliminate any danger of a static charge being generated or transferred from you to the circuit board.
Now for the actual desoldering:
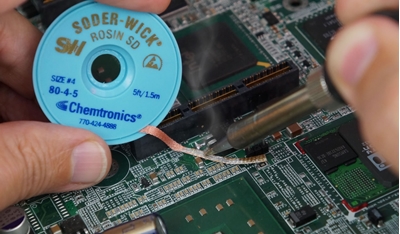
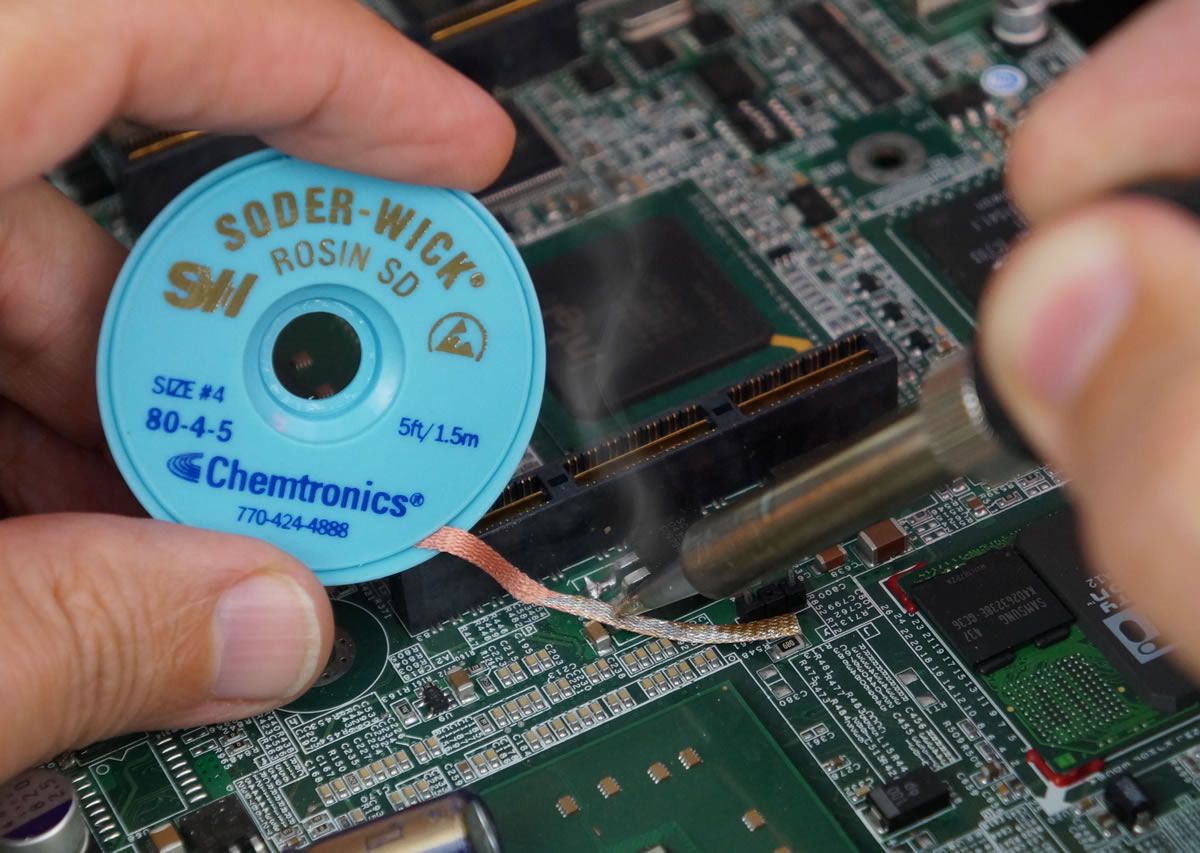
Step One: place the wick over the solder to be removed and then place the hot soldering iron over the braid.
Step Two: Place the tip at an angle that maximizes heat transfer through the braid to the solder. Use a clean tip that you have just tinned with fresh solder to maximize heat transfer. Heat will be moving up the copper, so be careful not to burn yourself.
Step Three: Apply slight pressure and wait for the solder to melt. Don’t get in too big of a hurry at this point. Allow the tip to dwell long enough on the wick to heat the wick and then the solder on the other side. You will see the wick begin to absorb the solder. Hold the tip and wick in place until the wicking action has stopped. Solder Wick brand is the fastest wick available for this process.
Step Four: Remove the wick and braid at the same time. Removing the iron before removing the wick can cause the wick to become soldered to the board. If that does happen, reheat the braid so that you can remove it.
Tip: Adding a little extra flux to the joint before applying heat can make the job even easier and faster. This will also help to make an older spool of wick work like new.
Once the wick is saturated with solder, trim it off and move to a new piece of the wick for your next desoldering.
Removing Small Amounts of Solder
Sometimes there is a small amount of solder that is difficult to melt. This happens occasionally when solder is left in a through hole after removing the lead—Applying heat long enough to get down into the hole and melt the solder could damage the board.
Instead, add a good amount of solder back to the area.
Then put the wick over the new solder, and remove it in the same way previously described. The additional solder acts as a heat bridge to the tiny amount of solder that was hard to reach…so it is all absorbed at one time.
Next, I will demonstrate removing solder from around a lead.
We go through the same steps, but put the wick up against one side of the lead, place the solder tip over the wick and the solder will pull from all the way around the lead. This can be a good time to add more solder to the joint if not all of the solder is wicked up.
How To Desolder BGA Pads
Step one: Choose the widest wick available.
Step two: Choose a tip with a broad surface area. A knife tip works well for this, but you can also use any tip with a broad surface area.
Step three: Lay the braid all the way across the solder to be removed.
Step Four: place the tip on one end of the braid. Move the tip slowly along the braid to melt and wick solder as you move. Lift the wick as you move so that the braid doesn’t adhere to the board.
For more information, please go to Chemtronics.com or e-mail us at [email protected].
Ask A Technical Question
Stay up-to-date on Chemtronics news, products, videos & more.
Related Products